
How to Apply CSS to a Specific Element by Declaring a Variable in JavaScript
Inkey Solutions, April 4, 202571 Views
Applying CSS to a specific out-of-the-box (OOB) button on a form in Power Pages can be challenging, especially when you want the style changes to affect only a particular page without impacting the same button on other pages. This is because OOB buttons often share common classes and styles across the entire site. To achieve page-specific styling, you can use JavaScript to dynamically apply CSS to the targeted button on the desired page.
Understanding the Challenge
OOB buttons in Power Pages are designed with consistent classes and styles to maintain uniformity across the entire site. When you directly apply CSS to these classes, the changes reflect on all pages where the button appears. Therefore, a more targeted approach is necessary to apply styling to a specific page only.
Solution: Using JavaScript to Apply CSS Specifically
By leveraging JavaScript, you can select the specific button on the desired page and apply custom styles without affecting the same button on other pages. Here’s how you can do it step by step:
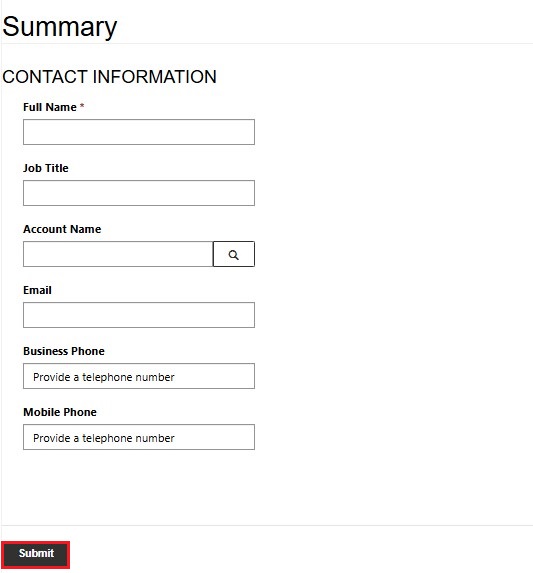
Step 1: Identify the Button
First, you need to identify the OOB button you want to style.
On your Power Pages site, navigate to the page containing the button.
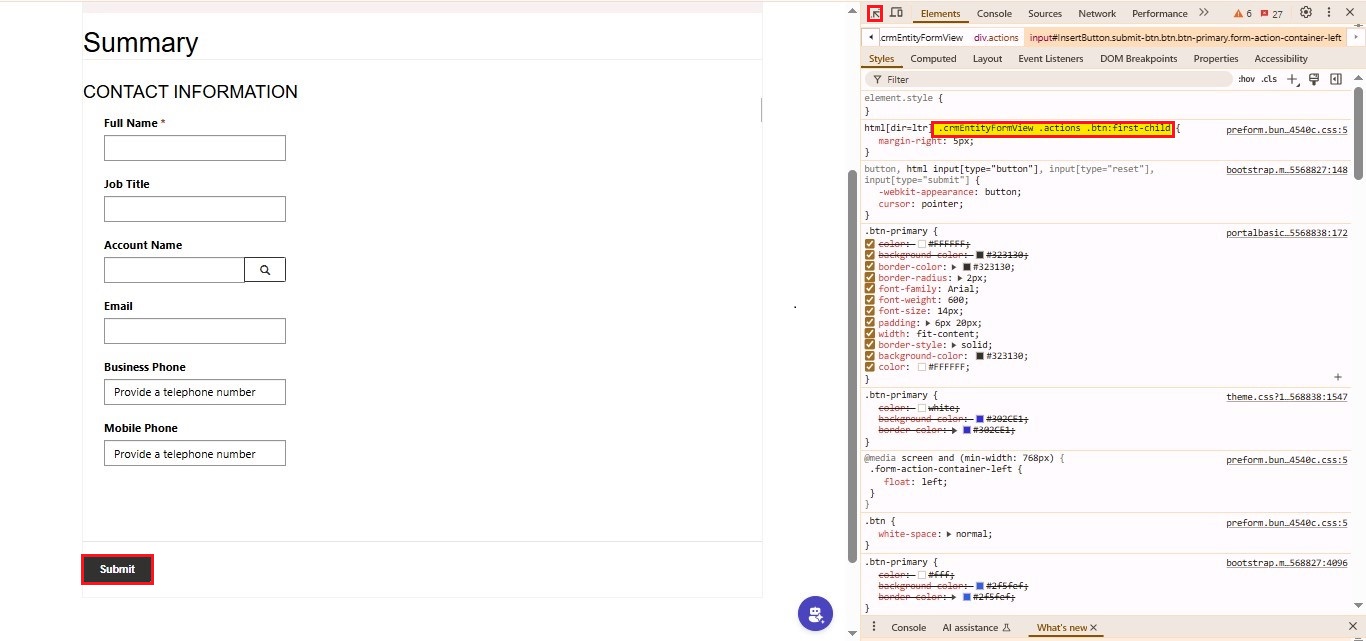
- Open Developer Mode by pressing F12 or right-clicking and selecting Inspect.
- Use the element selector tool to inspect the button.
- Copy the HTML or note down the unique ID, class, or other attributes of the button.
Step 2: Open Portal Management
Next, navigate to Portal Management in Power Pages:
- Go to Web Pages → Select the desired page.
- Open the Basic Form on which you want to apply css changes in the button where the button is located.
Step 3: Add CSS Dynamically with JavaScript
To apply the CSS only on this page, declare a JavaScript variable that targets the specific button and modifies its style.
Example: Move the Button to the Right Side
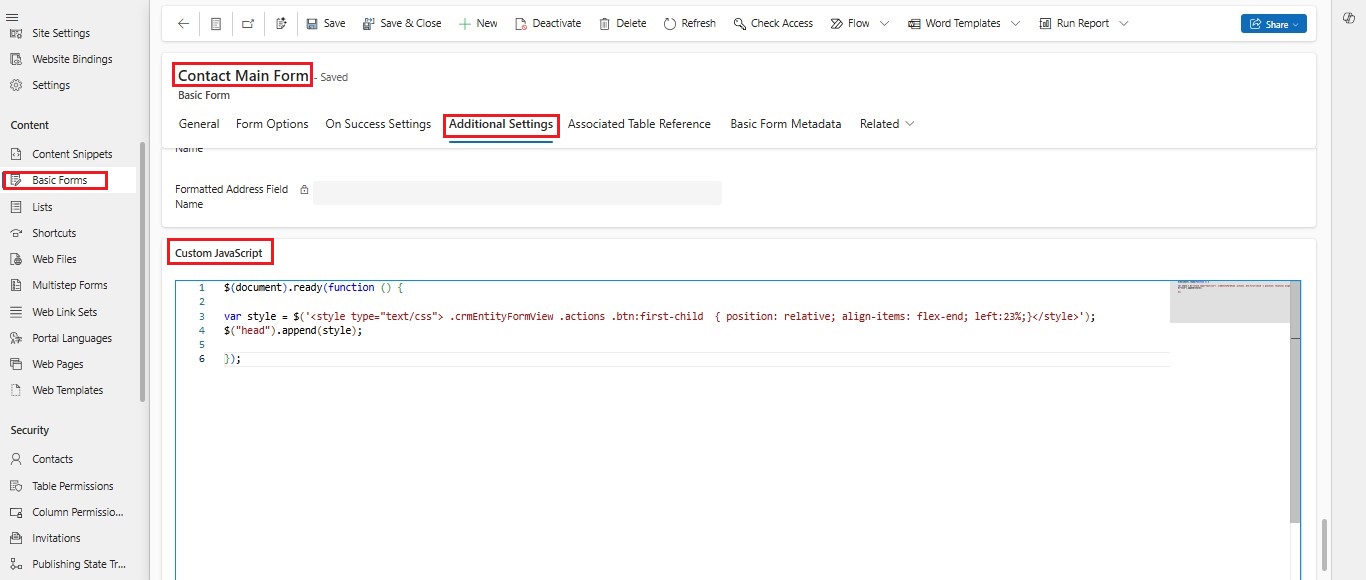
Code snippet:
$(document).ready(function () {
var style = $(‘<style type=”text/css”> .crmEntityFormView .actions .btn:first-child { position: relative; align-items: flex-end; left:23%;}</style>’);
$(“head”).append(style);
});
Code Explanation
- $(document).ready(function () { … }):
//Ensures the script runs only after the DOM is fully loaded.
- var style = $(‘<style type=”text/css”> … </style>’):
//Creates a <style> element containing the CSS rules.
- .crmEntityFormView .actions .btn:first-child:
//Targets the first button within the .crmEntityFormView .actions container.
- position: relative; align-items: flex-end; left: 23%;:
//Moves the button 23% to the right while maintaining relative positioning and flex alignment.
- $(“head”).append(style):
// Injects the CSS into the <head> section, making it page specific.
Step 4: Sync and Verify the Changes
Once you’ve added JavaScript, save and sync the form.
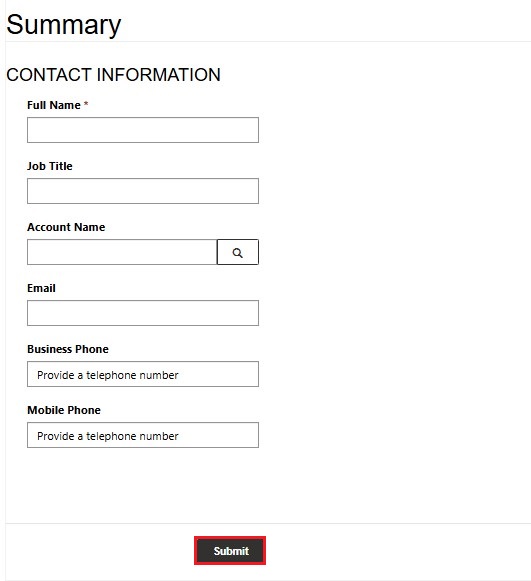
- Refresh the page on your Power Pages site.
- The button should now appear on the right-hand side with the applied CSS styling.
Key Takeaway
By dynamically applying CSS through JavaScript, you can style OOB buttons specifically on a single page in Power Pages without affecting their appearance on other pages. This technique ensures that your customizations remain page-specific and don’t impact the entire site.
Conclusion
Using JavaScript to declare variables and apply CSS dynamically is an effective way to style specific elements on individual pages in Power Pages. This approach provides flexibility and ensures your design changes remain isolated, preventing unintended styling modifications across the entire site.