
How to set-up Jet Reports in Business Central – Part 1
WebSiteAdmin, February 10, 20218262 Views
Overview on Jet Reports:
Jet Reports are fast and flexible financial reporting solution that helps to eliminate the errors in traditional reporting available out of the box in the Business Central system. Jet Reports allows to get the latest information from the database. Jet Reports integrates into excel allowing us to get the real-time data efficiently while also eliminating errors and risk.
The app is Excel-powered and Business Central-integrated, so you can be assured that data is gathered in real time as you conduct your business. What’s more, it can be used in a familiar and user-friendly environment.
We have a third party extension which we can install to use the Jet Reports in Business Central which is absolutely free of cost.
Pre-Requisite
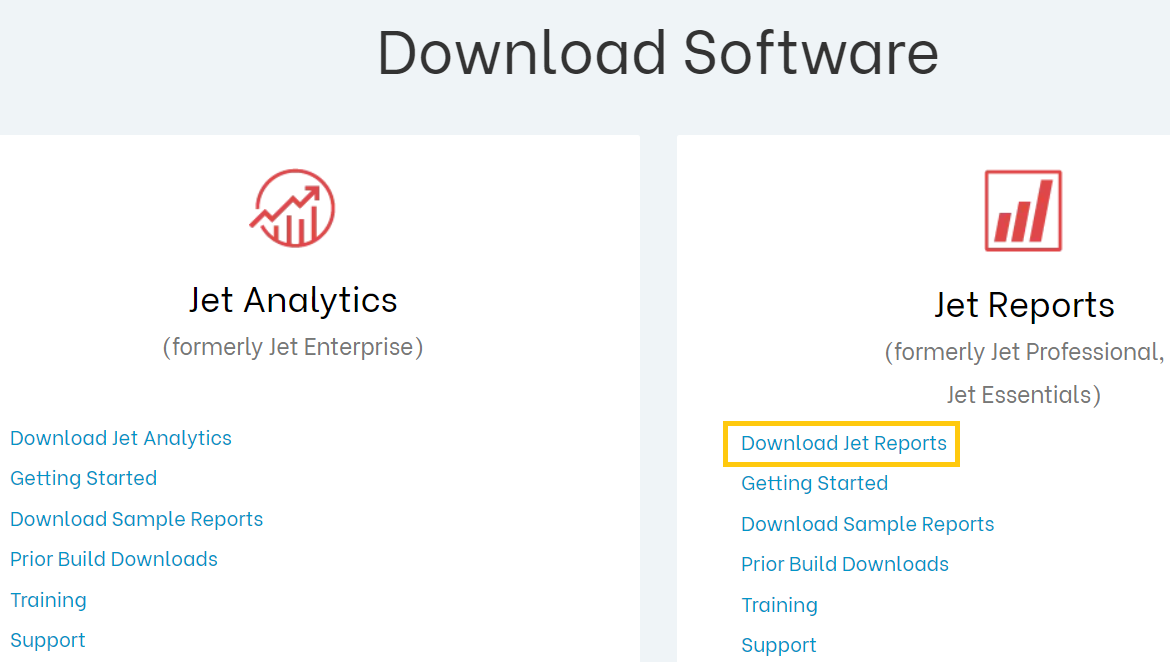
- Download Jet Report , using the link mentioned below:
Link- https://insightsoftware.com/downloads/?_ga=2.14083639.1088758303.1604731007-103562871.1604731007
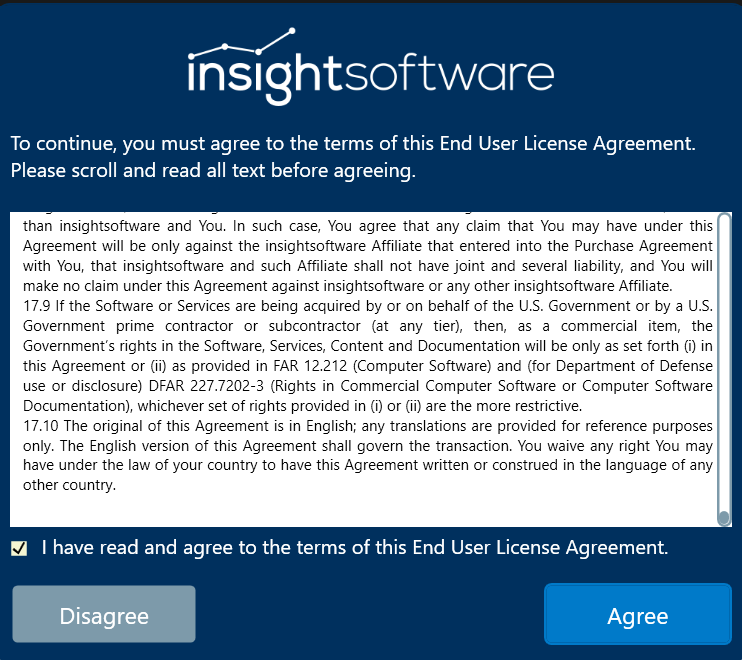
- Scroll down the Terms and click on the checkbox to agree to the terms and conditions. Click on the Agree button.
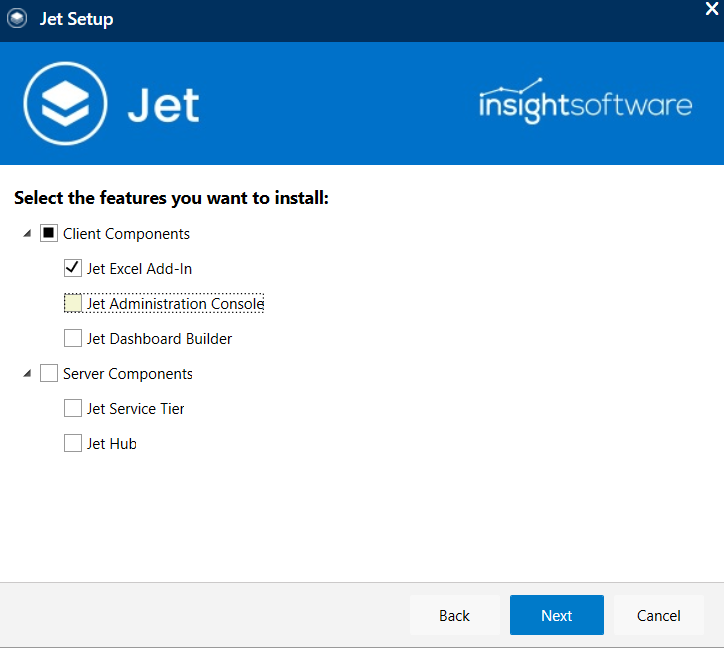
- Click on the Excel Add-in checkbox.
- Click on the Install button.
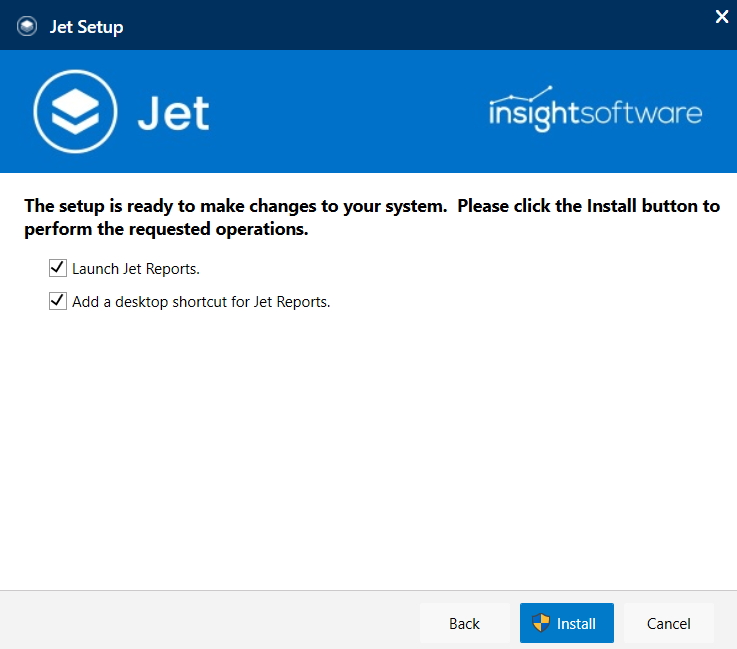
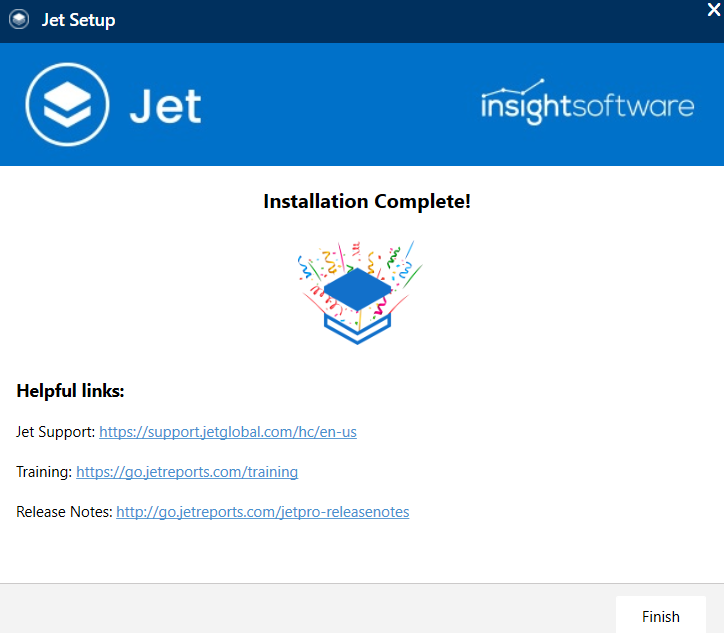
- Click on the Finish button.
Connect the data source of Business Central with excel
- Log into your business central instance.
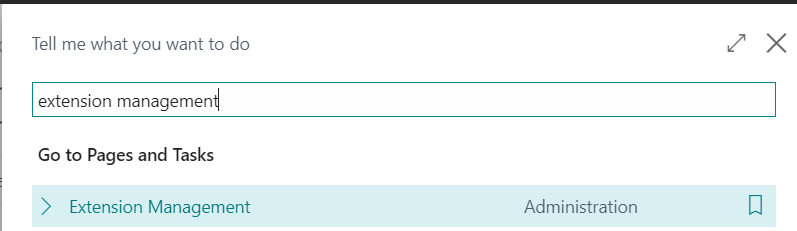
- Click on the Tell me icon type “Extension Management” and click on the related link.
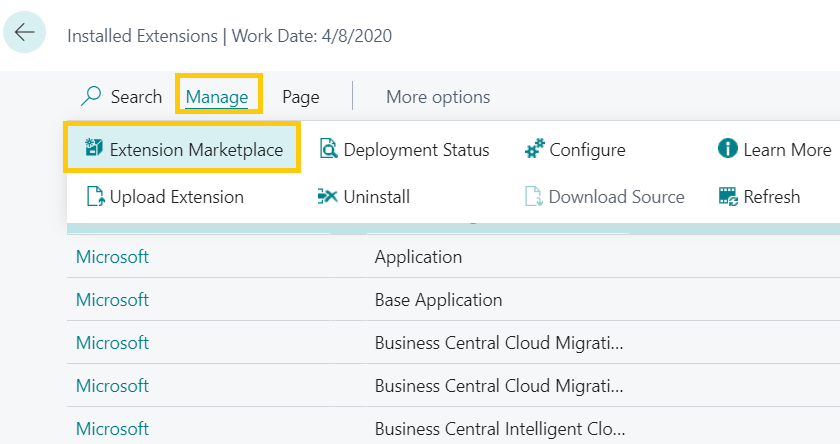
- Extension Management page will open. Click on the Manage>>Extension Marketplace.
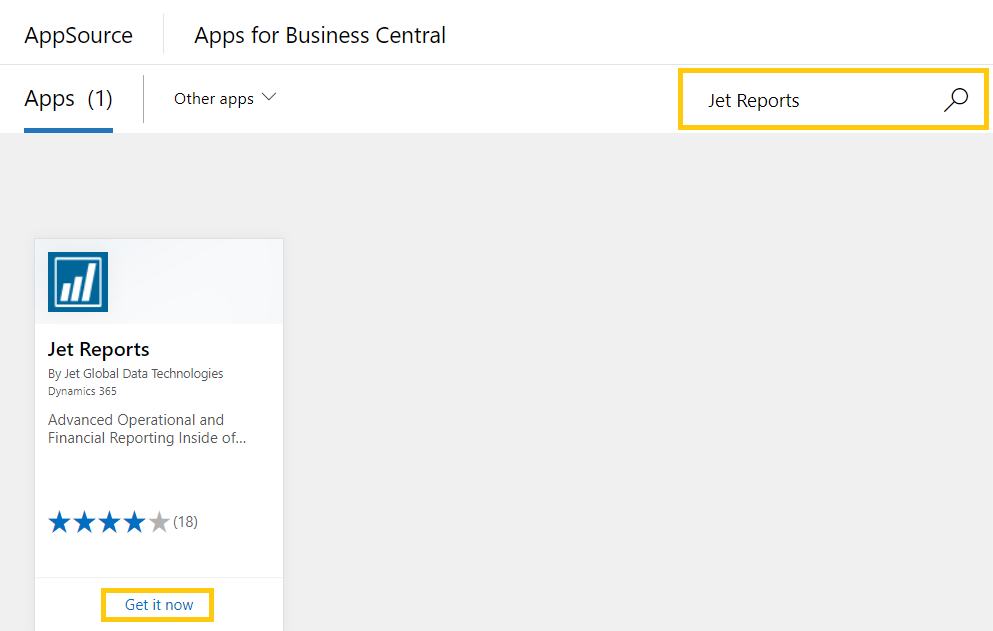
- App source page will open. In the upper right of the page notice a search bar. Enter “Jet Reports”. Jet Reports App will be highlighted. Click on the Get it now.
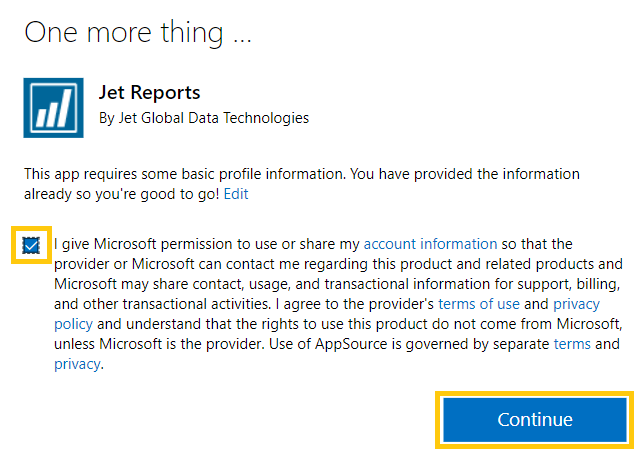
- A screen will be visible. Click on the check box and click on the continue button.
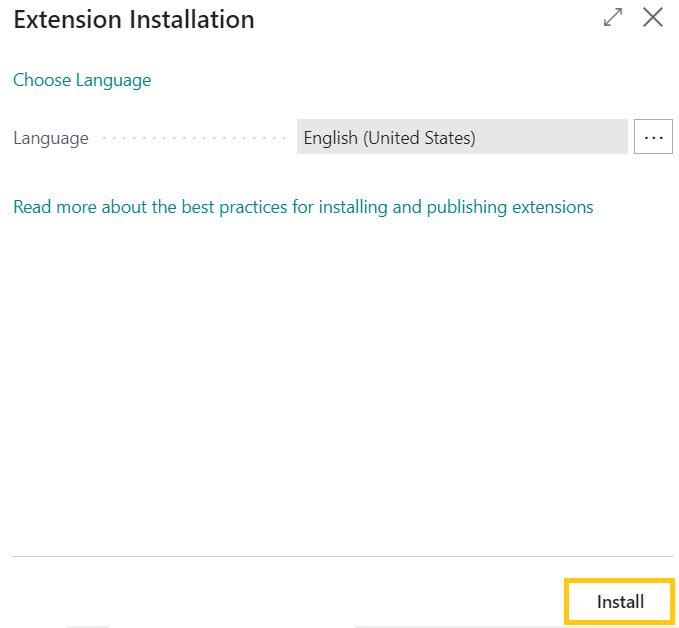
- Click on the Install button.
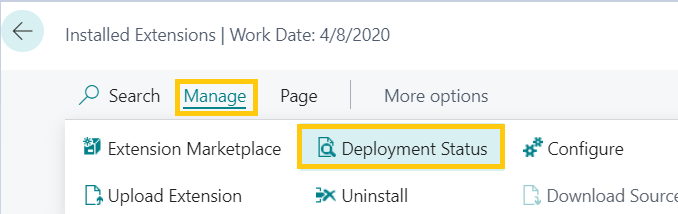
- Go back to the extensions page. Click on Manage>>Deployment Status.
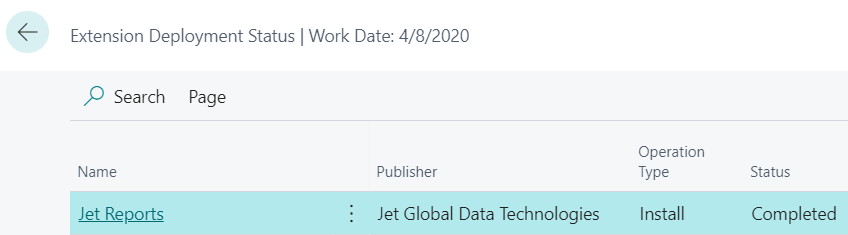
- You will be redirected to Deployment status page. Here you will notice that the Jet Reports extension is installed successfully.
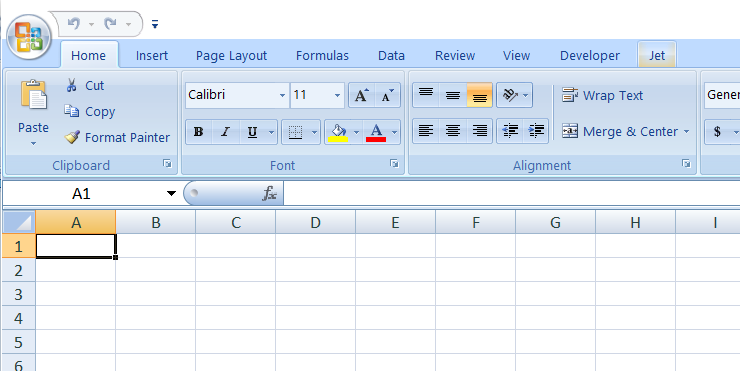
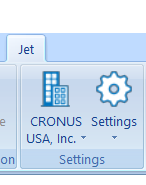
- After downloading Jet Report, you can see Jet Ribbon in Excel.
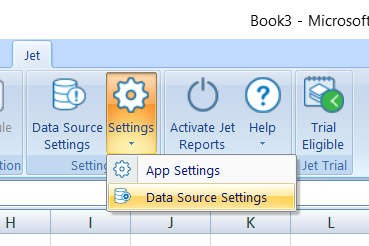
- Click on the Jet ribbon button >> Settings >> Data Source.
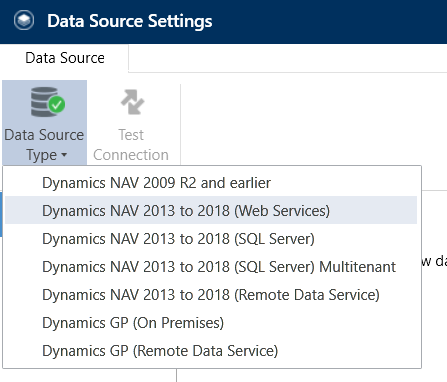
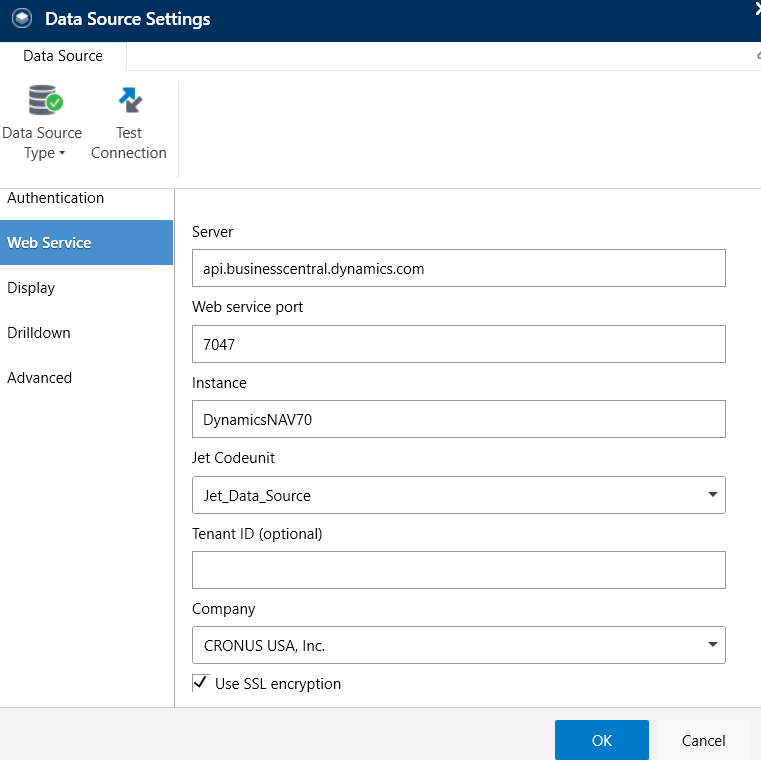
- Data Source Settings page will open. Click on Data Source Type.

- Select Dynamics NAV 2013 to 2018(Web Services).
- Click on Authentication using User Name, enter your Business Central Username and Password.
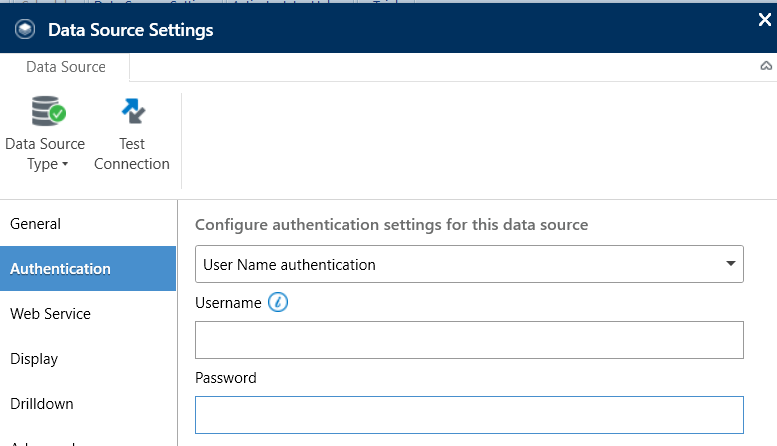
- Click on OK button. Once it is done. Click on the Web Service.
- Go back to Business Central page. Click on the Tell Me icon. Type “Web Services” and click on the related link.
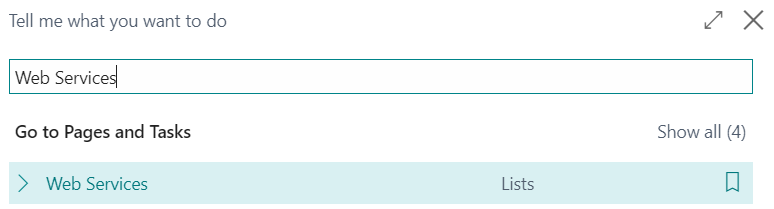
- Web Services page will open. In the search bar enter “Jet”.

- Open this SOAP link using UserID and Password.
- Enter the information in the web services. Click on OK button.
- Now Dynamics 365 Business Central data source is ready to be used in Jet Reports.
Notice- now we have our company’s data source linked with the excel.
Check out the next part here.
ATM Inspection PowerApp to ease ATM inspection and report generation process.
https://www.inkeysolutions.com/microsoft-power-platform/power-app/atm-inspection
Insert data into Many-to-Many relationship in Dynamics CRM very easily & quickly, using the Drag and drop listbox.
http://www.inkeysolutions.com/what-we-do/dynamicscrmaddons/drag-and-drop-listbox
Comply your Lead, Contact, and User entities of D365 CRM with GDPR compliance using the GDPR add-on.
https://www.inkeysolutions.com/microsoft-dynamics-365/dynamicscrmaddons/gdpr
Create a personal / system view in Dynamics CRM with all the fields on the form/s which you select for a particular entity using the View Creator.
http://www.inkeysolutions.com/what-we-do/dynamicscrmaddons/view-creator