Real-Time Alerts with Data Activator and KQL in Microsoft Fabric
Inkey Solutions, March 26, 202578 Views
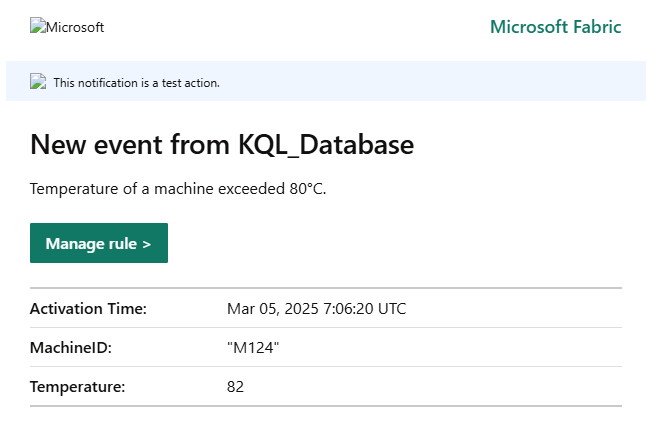
In this blog, we will leverage Microsoft Fabric’s Data Activator and Kusto Query Language (KQL) to monitor IoT sensor data in real-time. If the temperature of a machine exceeds 80°C, an email alert will be triggered automatically. Data Activator enables real-time monitoring and automation based on data conditions, while KQL is used to analyze and query the streaming data efficiently.
Scenario: IoT Machine Temperature Monitoring
A manufacturing company uses IoT sensors to monitor machine temperature. The requirement is to set up a Data Activator rule that continuously monitors the temperature readings and sends an email alert if any machine exceeds 80°C.
Step-by-Step Implementation
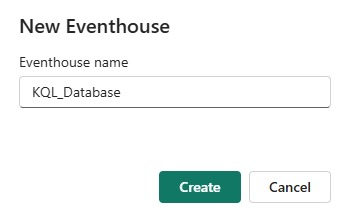
Step 1: Create a Eventhouse
- Open Microsoft Fabric.
- Create a new Eventhouse and name it KQL_Database.
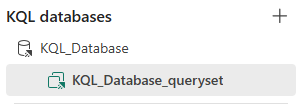
Step 2: Open Queryset
- After creating the Eventhouse, you will automatically enter it.
- Click on the KQL_Database you just created in the left panel of Eventhouse.
- Below it, locate KQL_Database_queryset.
- Click on it to enter the Query Set.
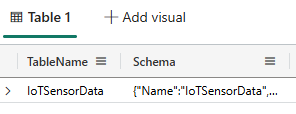
Step 3: Create a Table for IoT Sensor Data
Now, we will create a table that stores real-time sensor data.
- Paste below query into the KQL queryset and run it:
.create table IoTSensorData (Timestamp: datetime, MachineID: string, Temperature: real, Location: string)
Step 4: Ingest Sample Real-Time Data
To simulate sensor data, insert sample records into the table.
- Paste below query into the KQL queryset and run it:
.ingest inline into table IoTSensorData <|
2024-03-04 10:05, “M123”, 75, “Plant A”
2024-03-04 10:07, “M124”, 82, “Plant B”
2024-03-04 10:09, “M125”, 85, “Plant A”

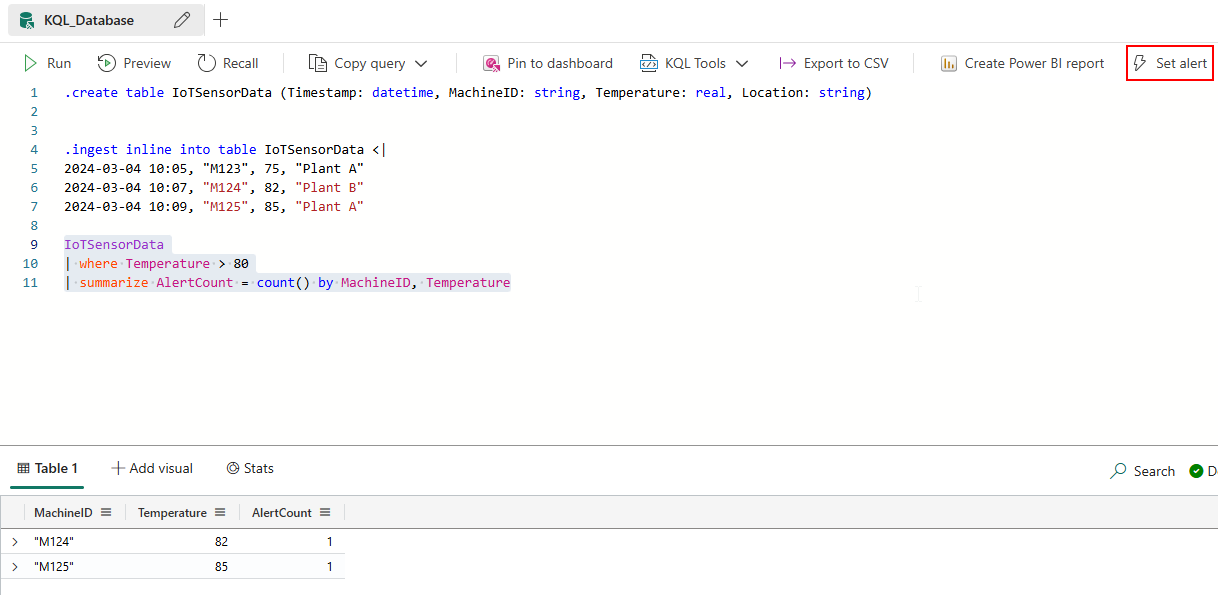
Step 5: Write KQL Query for Anomaly Detection
The following KQL query will check if any machine exceeded 80°C.
- Paste below query into the KQL queryset and run it:
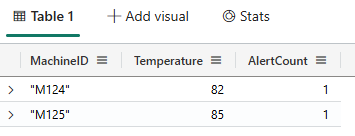
IoTSensorData
| where Temperature > 80
| summarize AlertCount = count() by MachineID, Temperature
Step 6: Set an Alert
- After running the query, you will see a thunder icon (Set Alert) in the upper-right panel.
- Click on it to configure the alert.
Step 7: Configure the Alert
When you click Set Alert, the alert panel will open on the right side.
- Configure the conditions and actions as needed.
- In the Items section, select an existing activator or create a new one and name it Temperature_Alert and Create.

Final Output:
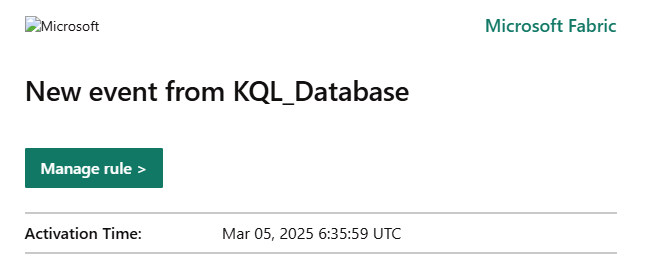
Additional Steps to further modify the Email body:
Step 8: Modify the Alert in Activator
To make further modifications:
- Click Open in the Set Alert panel to open the activator.
- A new Activator tab will open automatically.
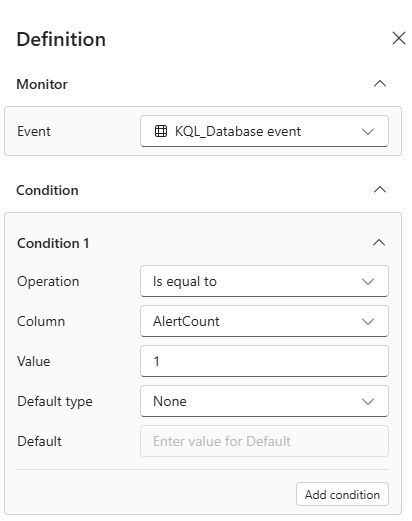
- Modify the condition or action as needed.
Condition:
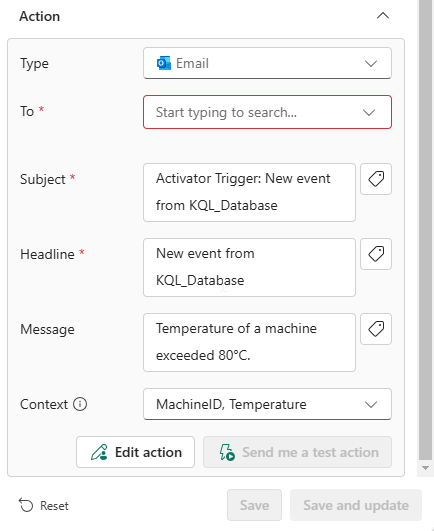
Action:
Final Output After Modification: